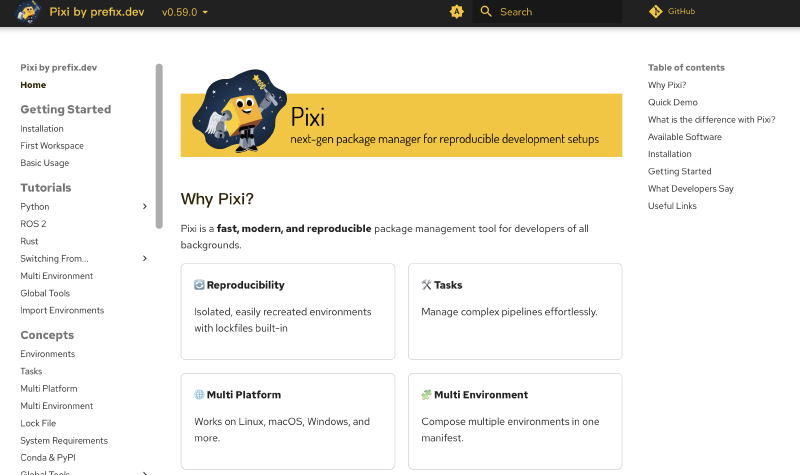
什么是 Pixi?

Pixi 是由 prefix.dev 开发的一款快速、可复现、跨语言的包管理与任务运行工具。它的目标是解决开发者在日常工作中遇到的三大难题:
- 依赖混乱:Python、Rust、C++、Node.js 等语言的包分散在不同系统中;
- 环境不可复现:今天能跑的代码,明天换台电脑就报错;
- 脚本管理困难:测试、构建、部署命令散落在文档或 shell 脚本里。
Pixi 通过一个统一的配置文件 pixi.toml 和一个命令行工具 pixi,将依赖管理、环境隔离、任务执行全部整合在一起,支持 Linux、macOS 和 Windows。
它底层使用 Rust 编写的 rattler 引擎,解析速度极快,并原生支持:
- Conda 生态(如
python,pytorch,opencv,rust) - PyPI 生态(通过 uv 高速解析)

安装 Pixi
✅ 支持平台
- Linux(x86_64 / aarch64)
- macOS(Intel / Apple Silicon)
- Windows(PowerShell 或 CMD)
🔧 安装方法
▶ Linux / macOS 打开终端,运行:
|
|
安装完成后,重启终端,或手动加载 shell 配置:
|
|
▶ Windows(PowerShell) 以管理员身份打开 PowerShell,运行:
|
|
安装后关闭并重新打开终端。
💡 安全提示:安装脚本开源,可查看 install.sh 和 install.ps1。
✅ 验证安装
|
|
输出类似:
|
|
如果命令未找到,请检查 PATH 是否包含 ~/.pixi/bin(Linux/macOS)或 %USERPROFILE%\.pixi\bin(Windows)。
第一个 Pixi 项目 —— Hello World
我们将创建一个最简单的 Python 项目,打印 “Hello, Pixi!”。
步骤 1:初始化项目
|
|
这会生成一个 pixi.toml 文件,内容如下:
|
|
注意:
platforms字段会根据你当前操作系统自动填写,确保环境可复现在相同架构上。
步骤 2:添加 Python 依赖
|
|
此时 pixi.toml 变为:
|
|
同时生成了 pixi.lock 文件——这是可复现性的核心,记录了所有依赖的确切版本和哈希值。
步骤 3:编写 Python 脚本
创建文件 hello.py:
|
|
步骤 4:运行程序
|
|
输出:
|
|
✅ 成功!你已在一个完全隔离的环境中运行了 Python 程序,无需全局安装 Python。
💡
pixi run会自动激活项目环境,并在其中执行命令。
Pixi 基本命令
| 命令 | 作用 |
|---|---|
pixi init |
初始化新项目,生成 pixi.toml |
pixi add <package> |
添加 Conda 包(如 numpy) |
pixi add --pypi <package> |
添加 PyPI 包(如 requests) |
pixi install |
根据 pixi.toml 安装所有依赖(通常自动触发) |
pixi run <command> |
在项目环境中运行命令 |
pixi shell |
进入交互式 shell(环境已激活) |
pixi remove <package> |
移除依赖 |
pixi list |
列出当前环境中的所有包 |
pixi global install <tool> |
安装全局 CLI 工具(如 gh, ripgrep) |
pixi task |
列出所有定义的任务 |
理解 pixi.toml
pixi.toml 是 Pixi 项目的唯一配置文件,采用 TOML 格式(比 YAML 更简单、更安全)。
[project] 段:项目元信息
|
|
channels:指定包从哪些 Conda channel 安装,默认是conda-forge;platforms:列出你希望支持的操作系统和架构,影响锁文件生成。
[dependencies]:Conda 依赖
|
|
支持:
- 简单版本(
"3.11") - 版本范围(
">=3.10,<3.13") - 指定 channel(
{ channel = "pytorch", version = "..." })
[pypi-dependencies]:PyPI 依赖
|
|
⚠️ 必须显式使用
--pypi参数添加,或手动写入此段。Pixi 不会自动混用 Conda 和 PyPI。
[tasks]:任务定义
替代 Makefile 或 npm scripts:
|
|
cmd:要执行的命令;env:设置环境变量;depends_on:声明任务依赖(如先安装再构建)。
运行任务:
|
|
多环境支持:[feature] 与 [environments]
大型项目需要不同环境:
|
|
激活特定环境:
|
|
核心概念
环境(Environment)
每个 Pixi 项目默认有一个 default 环境,但可通过 environments 定义多个。每个环境是独立的 Conda 环境,包含特定依赖集合。
- 环境存储在
.pixi/envs/<name>目录下; pixi run默认使用default环境;- 不同环境可共享部分依赖(通过 feature 复用)。
锁文件(pixi.lock)
- 自动生成,必须提交到 Git;
- 记录每个包的:
- 精确版本
- 构建字符串(build string)
- SHA256 哈希
- 来源 channel
- 确保
pixi install在任何机器上产生完全相同的环境。
全局工具(Global Tools)
安装常用 CLI 工具,不污染系统:
|
|
- 工具安装在
~/.pixi/envs/global; - 自动加入 PATH(通过 trampoline 脚本);
- 可导出/导入配置:
1 2pixi global export > tools.toml pixi global import tools.toml
工作区(Workspace)
支持 monorepo 结构,管理多个子项目(类似 Cargo 或 Nx)。暂不展开,详见官方文档。
完整示例 —— 数据科学项目
假设我们要构建一个使用 PyTorch 和 Transformers 的文本分类器。
1. 初始化
|
|
2. 添加依赖
|
|
3. 查看 pixi.toml
|
|
4. 定义任务
|
|
5. 运行
|
|
所有依赖自动隔离,无需担心与系统 Python 冲突。
常见问题与最佳实践
❓ 常见问题
-
Q:能否同时使用 pip 和 pixi?
A:不推荐。Pixi 已内置 PyPI 支持,直接用--pypi即可。 -
Q:
pixi.lock能删吗?
A:不能!它是可复现性的保障。团队协作必须提交。 -
Q:如何更新依赖?
A:运行pixi update,或手动修改pixi.toml后pixi install。
✅ 最佳实践
- 始终提交
pixi.toml和pixi.lock; - 使用
pixi add --pypi明确区分 PyPI 包; - 将常用命令抽象为
tasks; - 对 GPU 项目,使用
feature分离 CUDA 依赖; - 在 CI 中缓存
.pixi目录以加速构建。
下一步学习资源
- 📚 官方文档:https://pixi.sh/dev/
- 💬 Discord 社区:https://discord.gg/kHbw6U7NQW
- 🐙 GitHub:https://github.com/prefix-dev/pixi
- 🧪 示例项目:https://github.com/prefix-dev/pixi/tree/main/examples
Pixi 用简洁的声明式配置,解决了长期困扰开发者的环境管理难题。无论是数据科学家、Web 开发者还是系统工程师,Pixi 都能让开发体验更流畅、更可靠。